Once your GoPro is set up, take a moment to familiarize yourself with the buttons and settings. The interface is pretty user-friendly. You can easily switch between modes—like photo, video, and time-lapse—with just a few taps. Don’t be afraid to play around with the different settings to see what works best for your style.
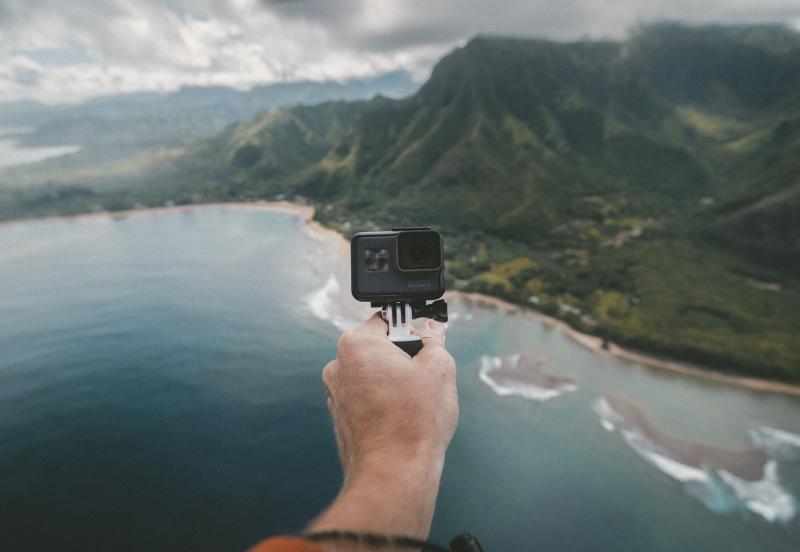
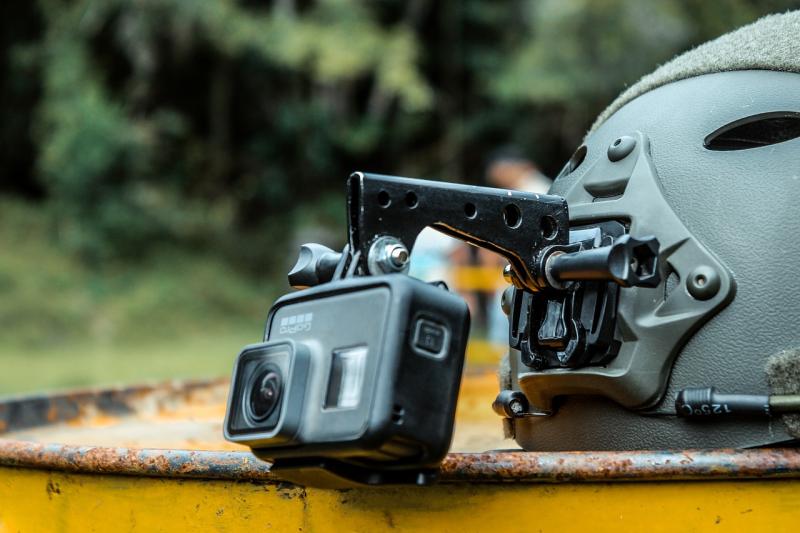
Before you head out for your adventure, think about the kind of shots you want to capture. GoPros are great for action shots, so consider mounting your camera on a helmet, bike, or even a drone. These mounts add a fun spin to your photos and videos. Experiment with angles and perspectives, and check the framing while recording to ensure you get everything you want in the shot.
Lastly, keep it steady! If you're shooting while moving, try to use a stabilizer or find a smooth surface to record from. GoPro also has built-in stabilization features, so make sure to enable those to avoid shaky footage. Get ready to capture some amazing moments!
Essential GoPro Settings for Great Shots
Getting awesome shots with your GoPro isn’t just about pointing and shooting. Tweaking a few settings can make a huge difference in your photos and videos. Here’s a quick guide to essential GoPro settings that can help you capture stunning content.
Resolution and Frame Rate: Start by choosing the right resolution and frame rate for what you’re shooting. For most people, shooting in 1080p at 60fps is a solid choice. It provides a great balance between video quality and easy editing. If you’re going for some slow-mo action, 120fps at 1080p or even 240fps at 720p can create some amazing effects.
Field of View (FOV): GoPro cameras let you choose how wide the shot is. You’ll usually see options like Linear, Wide, and SuperView. If you want that classic GoPro look, go for Wide or SuperView. But if you’re shooting indoors or want to minimize distortion, Linear is your best bet.
Protune: Turn on Protune for pro-level control. It allows you to adjust settings like color, ISO, and white balance. If you want to tweak your footage later, this is a must. You can shoot in Flat color profile, giving you more flexibility in post-processing.
Spot Meter: If your subject is in bright light, use the Spot Meter feature. It helps to properly expose your subject without blowing out the background. Just point at your subject, and it’ll handle the exposure like a champ. This is especially handy for outdoor shots.
Photo Tips for Every Adventure
Adventure is all about capturing those incredible moments, and your GoPro makes it so easy! Here are some handy photo tips to help you take stunning shots every time.
First things first, always check your settings. Make sure you’ve got the right mode for your adventure. If you’re hiking, try HDR mode to capture all those beautiful details in the landscape. For action shots, burst mode is a lifesaver. You’ll snap multiple photos in a flash, so you don’t miss that epic moment!
Use the natural light to your advantage. Early mornings and late afternoons give you that soft, warm glow. Avoid harsh midday sun that can wash out colors. If you can, find cool shadows or interesting lighting to make your photos pop. Experiment with angles, too! Get low to the ground for a unique perspective or try shooting from above for an unexpected view.
Don’t forget about composition! Follow the rule of thirds by imagining a tic-tac-toe grid on your screen. Place your subject along those lines or their intersections for a more dynamic shot. And always look for interesting foreground elements to frame your subject. This adds depth and draws the viewer in.
Lastly, practice, practice, practice! The more you shoot, the better you’ll get. Review your photos and see what worked and what didn’t. With time, you’ll find your style and learn what you love to capture. So grab your GoPro and get ready to snap some amazing photos!
Editing Your GoPro Photos Like a Pro
Editing your GoPro photos can really take your shots to the next level. It’s not just about snapping the pic; it’s about making those memories pop! Whether you’re sharing on social media or just keeping them for yourself, a little editing goes a long way.
First off, you'll want user-friendly editing software. GoPro's own Quik app is a fantastic choice for beginners. You can easily trim clips, tweak colors, and apply filters without feeling overwhelmed. Plus, it works on both computers and mobile devices, so you can edit anytime, anywhere.
If you’re ready to dive a bit deeper, consider using Adobe Lightroom or Photoshop. They offer advanced features like selective adjustments and detailed color grading. Watch a couple of tutorials online to get the hang of it. Once you do, you can really unleash your creativity!
Don’t forget about cropping and framing. Sometimes, a simple crop can change the entire feel of a photo. Focus on the action or your main subject. You want your viewer's eyes to go right where you want them! And remember to keep an eye on the lighting; adjusting brightness and contrast can make your photos really stand out.
Lastly, experiment! Don’t be afraid to try different styles and effects. It’s all about finding what feels right for you. With a little practice, your GoPro photos will look professional in no time. Happy editing!